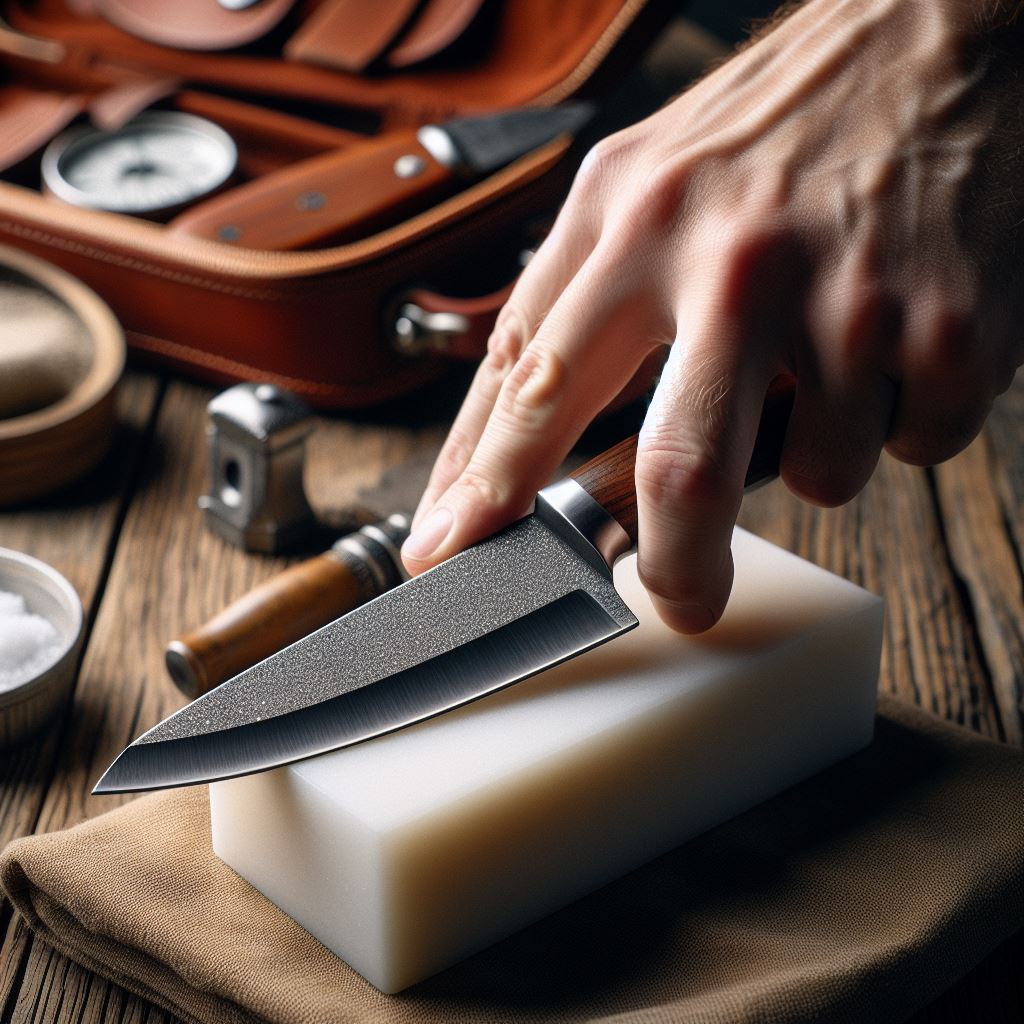
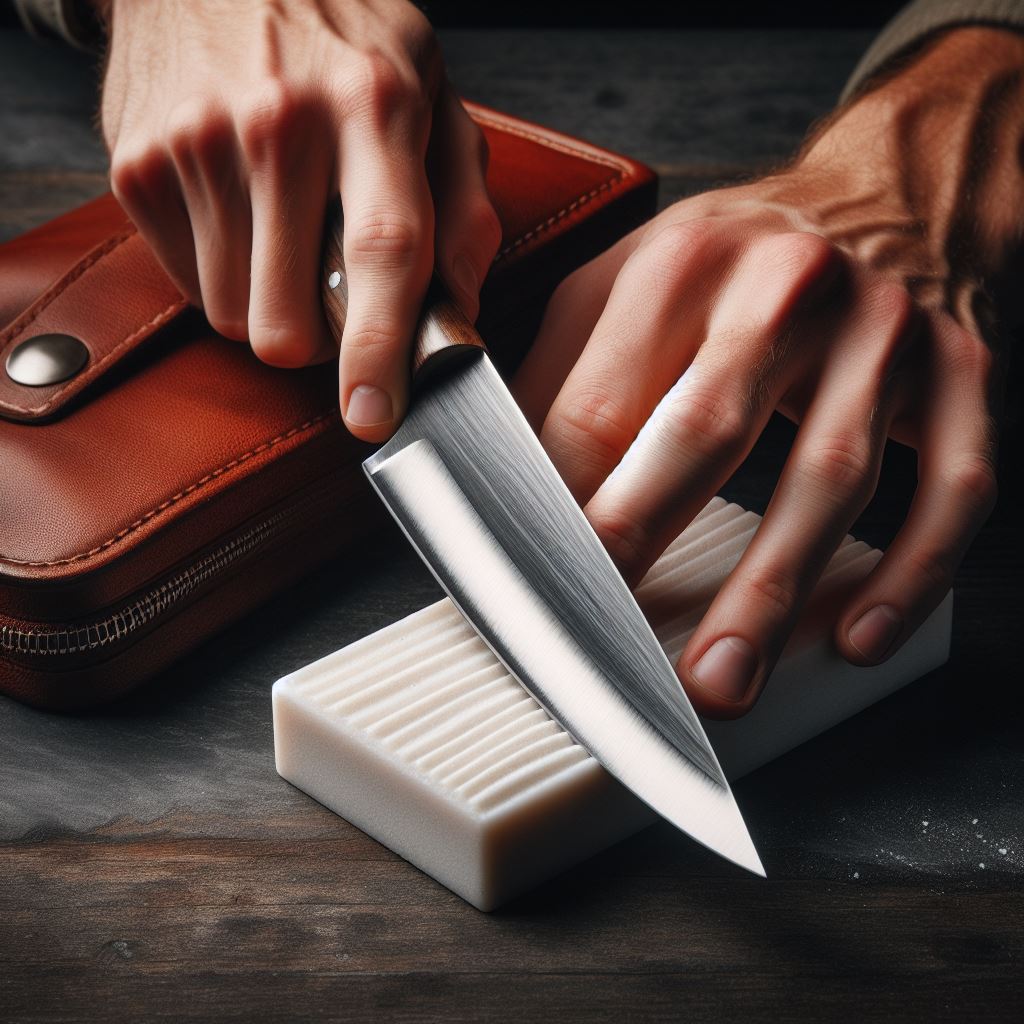
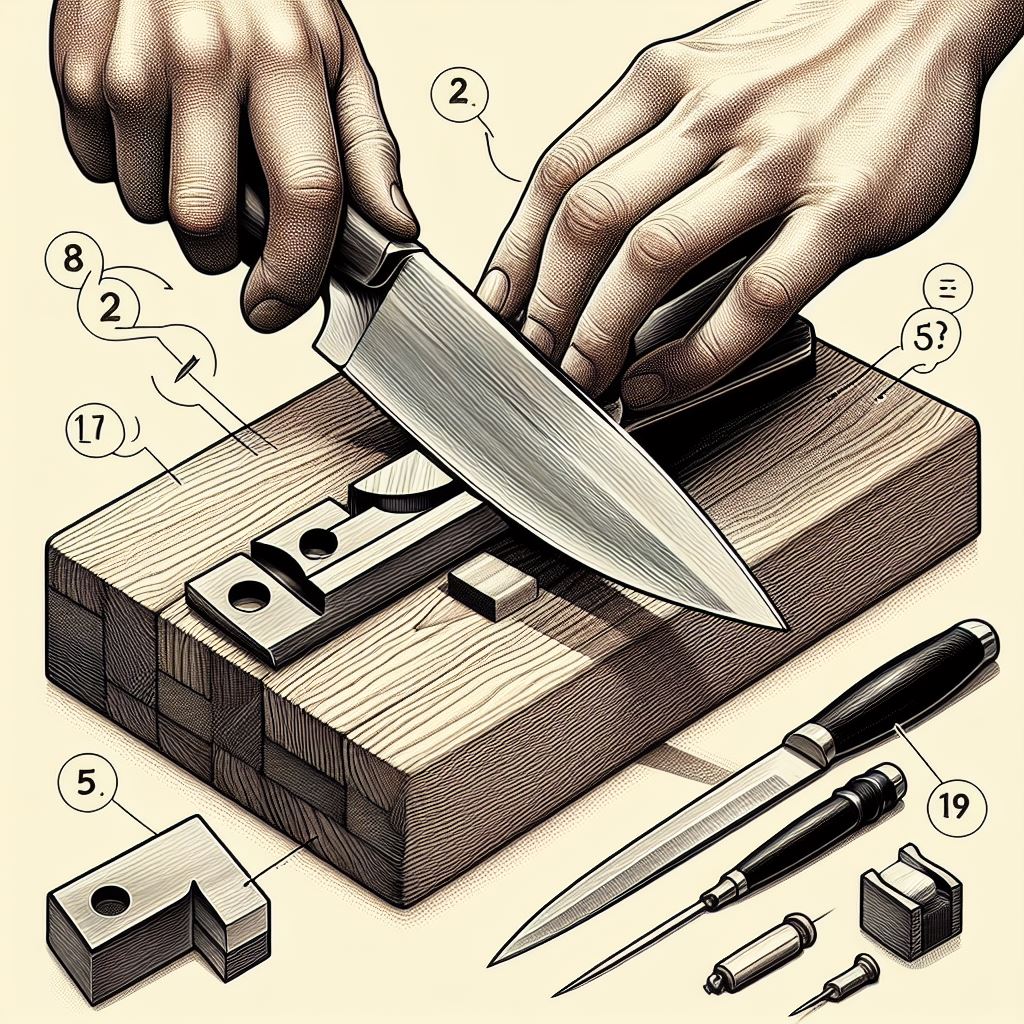
Begin sharpening with the coarse side of the stone, then progress to the finer side. This method helps to quickly reshape and refine the blade’s edge.
A sharpening stone, also known as a whetstone, is an essential tool for maintaining the sharpness and longevity of your knives and other cutting tools. Sharpening stones come in various grits, with each side designed for different stages of the sharpening process.
The coarser grit quickly removes material to form the edge, whereas the finer grit polishes it to a sharp finish. Mastery of this basic yet vital skill ensures that you maintain a consistent cutting performance, enhance your culinary efficiency, and prolong the lifespan of your blades. Understanding the correct usage of each side of a sharpening stone is crucial for anyone looking to achieve the sharpness that precise cutting tasks require.

Understanding Sharpening Stones
For both professional chefs and home cooks, the cornerstone of a sharp knife is a well-maintained sharpening stone. These essential tools restore precision to knife edges, ensuring clean cuts and efficient food preparation. However, the effectiveness of the sharpening process depends heavily on the correct choice and use of the sharpening stone’s variety of sides and grits.
The Composition Of Sharpening Stones
Sharpening stones come in an array of materials, each with unique properties suited for various blades and sharpening stages. Common materials include aluminum oxide, silicon carbide, and novaculite; they range from synthetic stones to natural stones like the renowned Japanese water stones. The choice of material affects the sharpening stone’s texture and cutting ability, which is crucial for achieving a razor-sharp edge.
Different Types Of Grits Explained
Understanding grit is fundamental to selecting the right sharpening stone. Grits fall into three primary categories:
- Coarse Grit: Quick material removal for dull or damaged edges (typically < 1000 grit)
- Medium Grit: Standard sharpening; balancing speed and finish (1000 to 3000 grit)
- Fine Grit: Polishing the edge for a super-sharp finish (above 3000 grit)
The correct grit choice ensures efficiency and effectiveness during the sharpening process and helps maintain the knife’s longevity.
The Importance Of Grit Sequence In Sharpening
Starting with the right grit is vital for optimal sharpening. Begin with a coarse grit to reshape the edge of a very dull or nicked blade. Progress to medium grit to refine the edge, and finish with a fine grit to hone and polish the blade to a professional-level sharpness. This sequence ensures that each stage of sharpening builds upon the last, creating edges that are not only sharp but also durable and long-lasting.

How To Sharpen A Knife With A Stone For Beginners
Welcome to the fundamental stage in the art of knife sharpening – preparation. Skilled artisans and DIY enthusiasts agree that the right start paves the way for the best finish. Sharpening your tools is both a craft and a science, and choosing which side of a sharpening stone to use first is not a decision to be made at random. This step-by-step guide will help you ensure your blade returns to its former glory, ready to slice with precision.
Assessing The Condition Of The Blade
Before beginning, a thorough assessment of your blade’s condition is crucial. Look for any visible damage, dullness, or irregularities. This examination will dictate the sharpening technique and the grit of the stone you will use. A damaged or very dull blade will require starting with a coarser grit, whereas a blade that’s maintained frequently may only need a finer grit to restore its edge.
Setting Up Your Sharpening Station
It’s essential to set up a stable and secure sharpening station. Place your sharpening stone on a non-slip base to prevent any movement during the sharpening process.
- Gather your sharpening stone, honing oil, or water.
- Ensure a clean, well-lit working area.
- Prepare a cloth or a paper towel to wipe the blade clean.
Choosing The Right Sharpening Stone For Your Tool
Selecting the appropriate grit of the sharpening stone is paramount. Sharpening stones come in varying grits:
| Grit Level | Usage |
|---|---|
| Coarse (200-600) | Repair damages and sharpen dull blades. |
| Medium (700-1200) | Basic sharpening maintenance. |
| Fine (2000-8000) | Polishing and honing a blade’s edge. |
Start with a stone that matches the current state of your blade. A very dull edge will benefit from a coarse stone to recreate the primary edge, then progress to a medium, and finally a fine stone to refine and hone the edge to razor-sharpness.
How To Use Sharpening Stone For Knives | Sharpening Techniques And Best Practices
Mastering the art of knife sharpening is both an essential kitchen skill and a form of art. Whether you’re a seasoned chef or a home cook, knowing how to effectively sharpen your knives can truly transform your culinary experience. So, let’s dive into some sharpening techniques and best practices that you should keep in mind before you begin the sharpening process.
Starting With The Coarser Grit Stone
The first step in sharpening any blade is to begin with a coarser grit stone. This rough surface is ideal for rectifying any imperfections or dullness that your knife has accumulated over time.
Here’s a straightforward way to commence your sharpening endeavor:
- Inspect the blade to identify any nicks or flat spots that require attention.
- Submerge the sharpening stone in water for the recommended time to ensure it’s adequately saturated.
- Place the knife against the stone at the correct angle, typically between 15-20 degrees for most kitchen knives.
- Perform even strokes across the stone while maintaining constant pressure.
This coarser stone does the heavy lifting of shaping the edge and should be used until a burr, a small fold of metal, forms along the edge of the knife.
Transitioning To Finer Grits For Refinement
After creating a new edge with the coarser grit stone, it’s crucial to hone the knife with finer grit stones. The role of these stones is to refine and polish the edge that has been shaped by the coarser grit.
Transitioning through progressively finer grits is like stepping through grades of sandpaper when finishing a piece of handcrafted furniture. Here’s the cliff notes for this step:
- Begin with a medium grit to smoothen the rough edge.
- Proceed to fine grit for additional smoothness and to begin polishing the edge.
- Finish with an extra-fine grit to fully polish the edge and achieve that razor-sharp finish.
Maintaining Consistent Angle And Pressure
One secret to successful sharpening is consistent angle and pressure. To maintain the angle, keep the knife at a steady tilt relative to the stone throughout each stroke. As for pressure, apply firm but controlled force against the stone, allowing the grit to do its job without pressing so hard that you risk damaging the blade or stone.
Consistent motion is essential. Use smooth, full strokes that cover the length of the blade. This not only ensures uniform sharpening but also guards against creating grooves in the stone or hotspots on the blade’s edge.
| Technique | Description |
|---|---|
| Guide Rails | Some sharpening stones come with guide rails to help maintain the angle. Consider using these as an aide. |
| Even Strokes | Ensure each stroke is even in length and covers the entire edge of the knife to prevent uneven sharpening. |
| Pressure Control | Begin with heavier pressure and gradually reduce as you move to finer grits to avoid undue wear on the stone and blade. |
A common pitfall to avoid is altering the angle mid-sharpening. Consistency is more critical than exact degree precision; find an angle that’s comfortable for you, and stick with it throughout the process.
How To Use a Small Sharpening Stone

Maintaining your sharpening stones is crucial for ensuring they remain effective and long-lasting. Proper aftercare not only preserves the quality of the stone but also guarantees optimal sharpening for your blades. Explore the essential steps you need to take once you’ve finished using your sharpening stone.
Cleaning And Storing Your Sharpening Stones
After honing your blades, cleaning the stone thoroughly is essential. Residual metal filings and stone particles can affect performance. Use warm water and a mild detergent, gently scrubbing with a soft brush. For oil stones, use honing oil instead of water.
- Rinse the stone under running water to remove all debris.
- Allow it to air-dry completely; avoid using heat sources, as it may cause cracking.
- Once dry, store your sharpening stone in a dry, ventilated area.
- Consider wrapping the stone in a cloth to protect it from dust and moisture.
Flattening And Conditioning The Stones For Future Use
With repeated use, sharpening stones may develop uneven surfaces. Flattening restores the flatness, and conditioning ensures stone smoothness for precise sharpening.
- Start by drawing a grid pattern on the stone’s surface with a pencil.
- Using a flattening stone or a suitable abrasive, gently rub it over the stone’s surface in a circular motion.
- Continue the process until the grid lines disappear, indicating a flat surface.
- Condition with a finer grit stone to smooth out coarse scratches.
- Finally, rinse and dry as per the cleaning instructions.
When To Replace Your Sharpening Stone
Sharpening stones don’t last forever, and recognizing when to replace them is important for maintaining sharpening efficiency. Here are some signs:
| Sign | Action |
|---|---|
| Deep grooves or unevenness that persists after flattening | Consider replacing the stone. |
| Cracks or chips compromising the stone’s integrity | Replace immediately to avoid damaging blades. |
| Noticeable reduction in sharpening performance | Test with a different stone to confirm if replacement is needed. |
Regular assessment of your sharpening stones will help you determine the right time for a replacement, ensuring your blades are always sharp and ready for action.
Summary
Selecting the right side of a sharpening stone is crucial for blade maintenance. Start with the coarse grit for dull edges. Fine grit perfects the blade. This knowledge ensures the longevity and peak performance of your tools. Embrace this sharpening wisdom for consistently sharp, reliable results.
Frequently Asked Questions Of Which Side Of Sharpening Stone To Use First
What Determines Sharpening Stone Side Selection?
The selection of sharpening stone sides is determined by the dullness of the blade and the stone’s grit. Start with a coarse side for a very dull blade, then switch to a finer side for sharpening and refining the edge.
How To Identify The Right Side Of Sharpening Stone?
Identifying the right side involves checking the grit rating. Coarse sides are typically labeled with a lower grit number, such as 400, while fine sides might have a higher number like 1000 or above. Inspect the stone for grit labelling before starting.
Does The Sharpening Sequence Affect Knife Sharpness?
Yes, the sequence affects sharpness. Begin with the coarse side of the stone to remove blade dullness and nicks. Then, use the fine side to hone the edge, resulting in a sharper, more refined knife blade.
Can I Skip Coarse Side On Sharpening Stone?
Skipping the coarse side is not recommended for very dull knives as it delays the sharpening process. The coarse side quickly restores the edge, allowing the fine side to efficiently sharpen and refine it.


