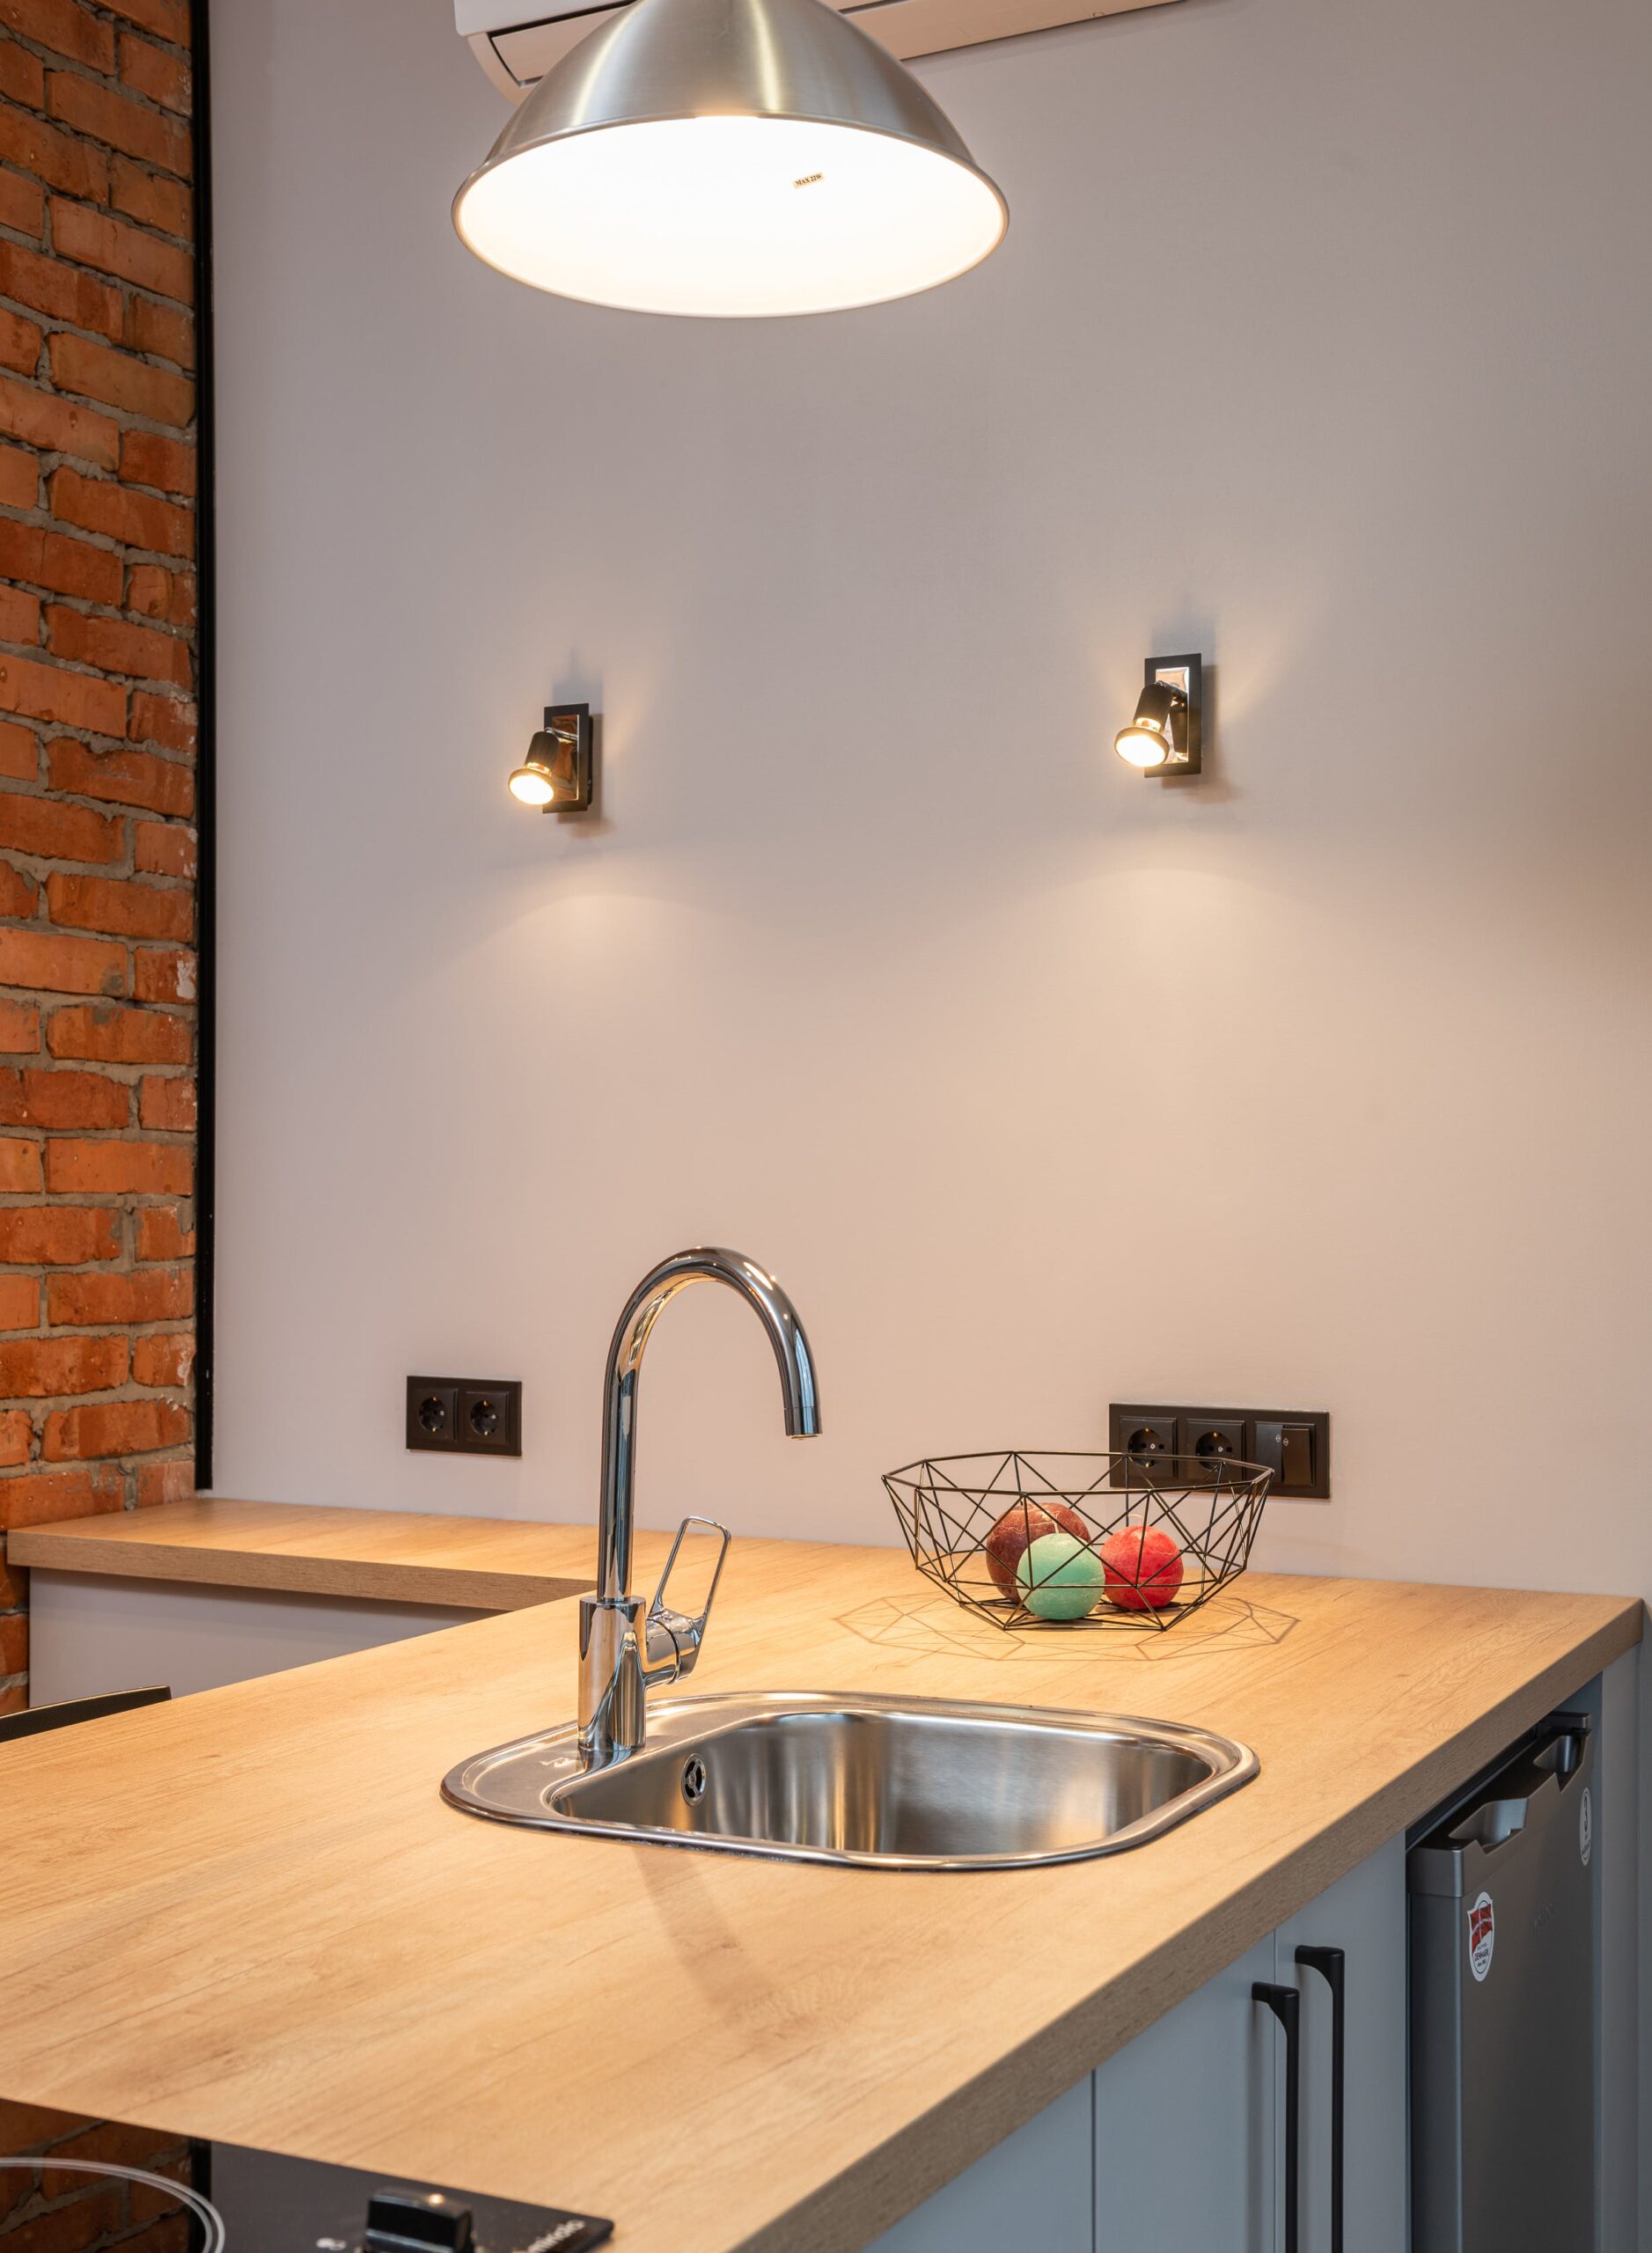
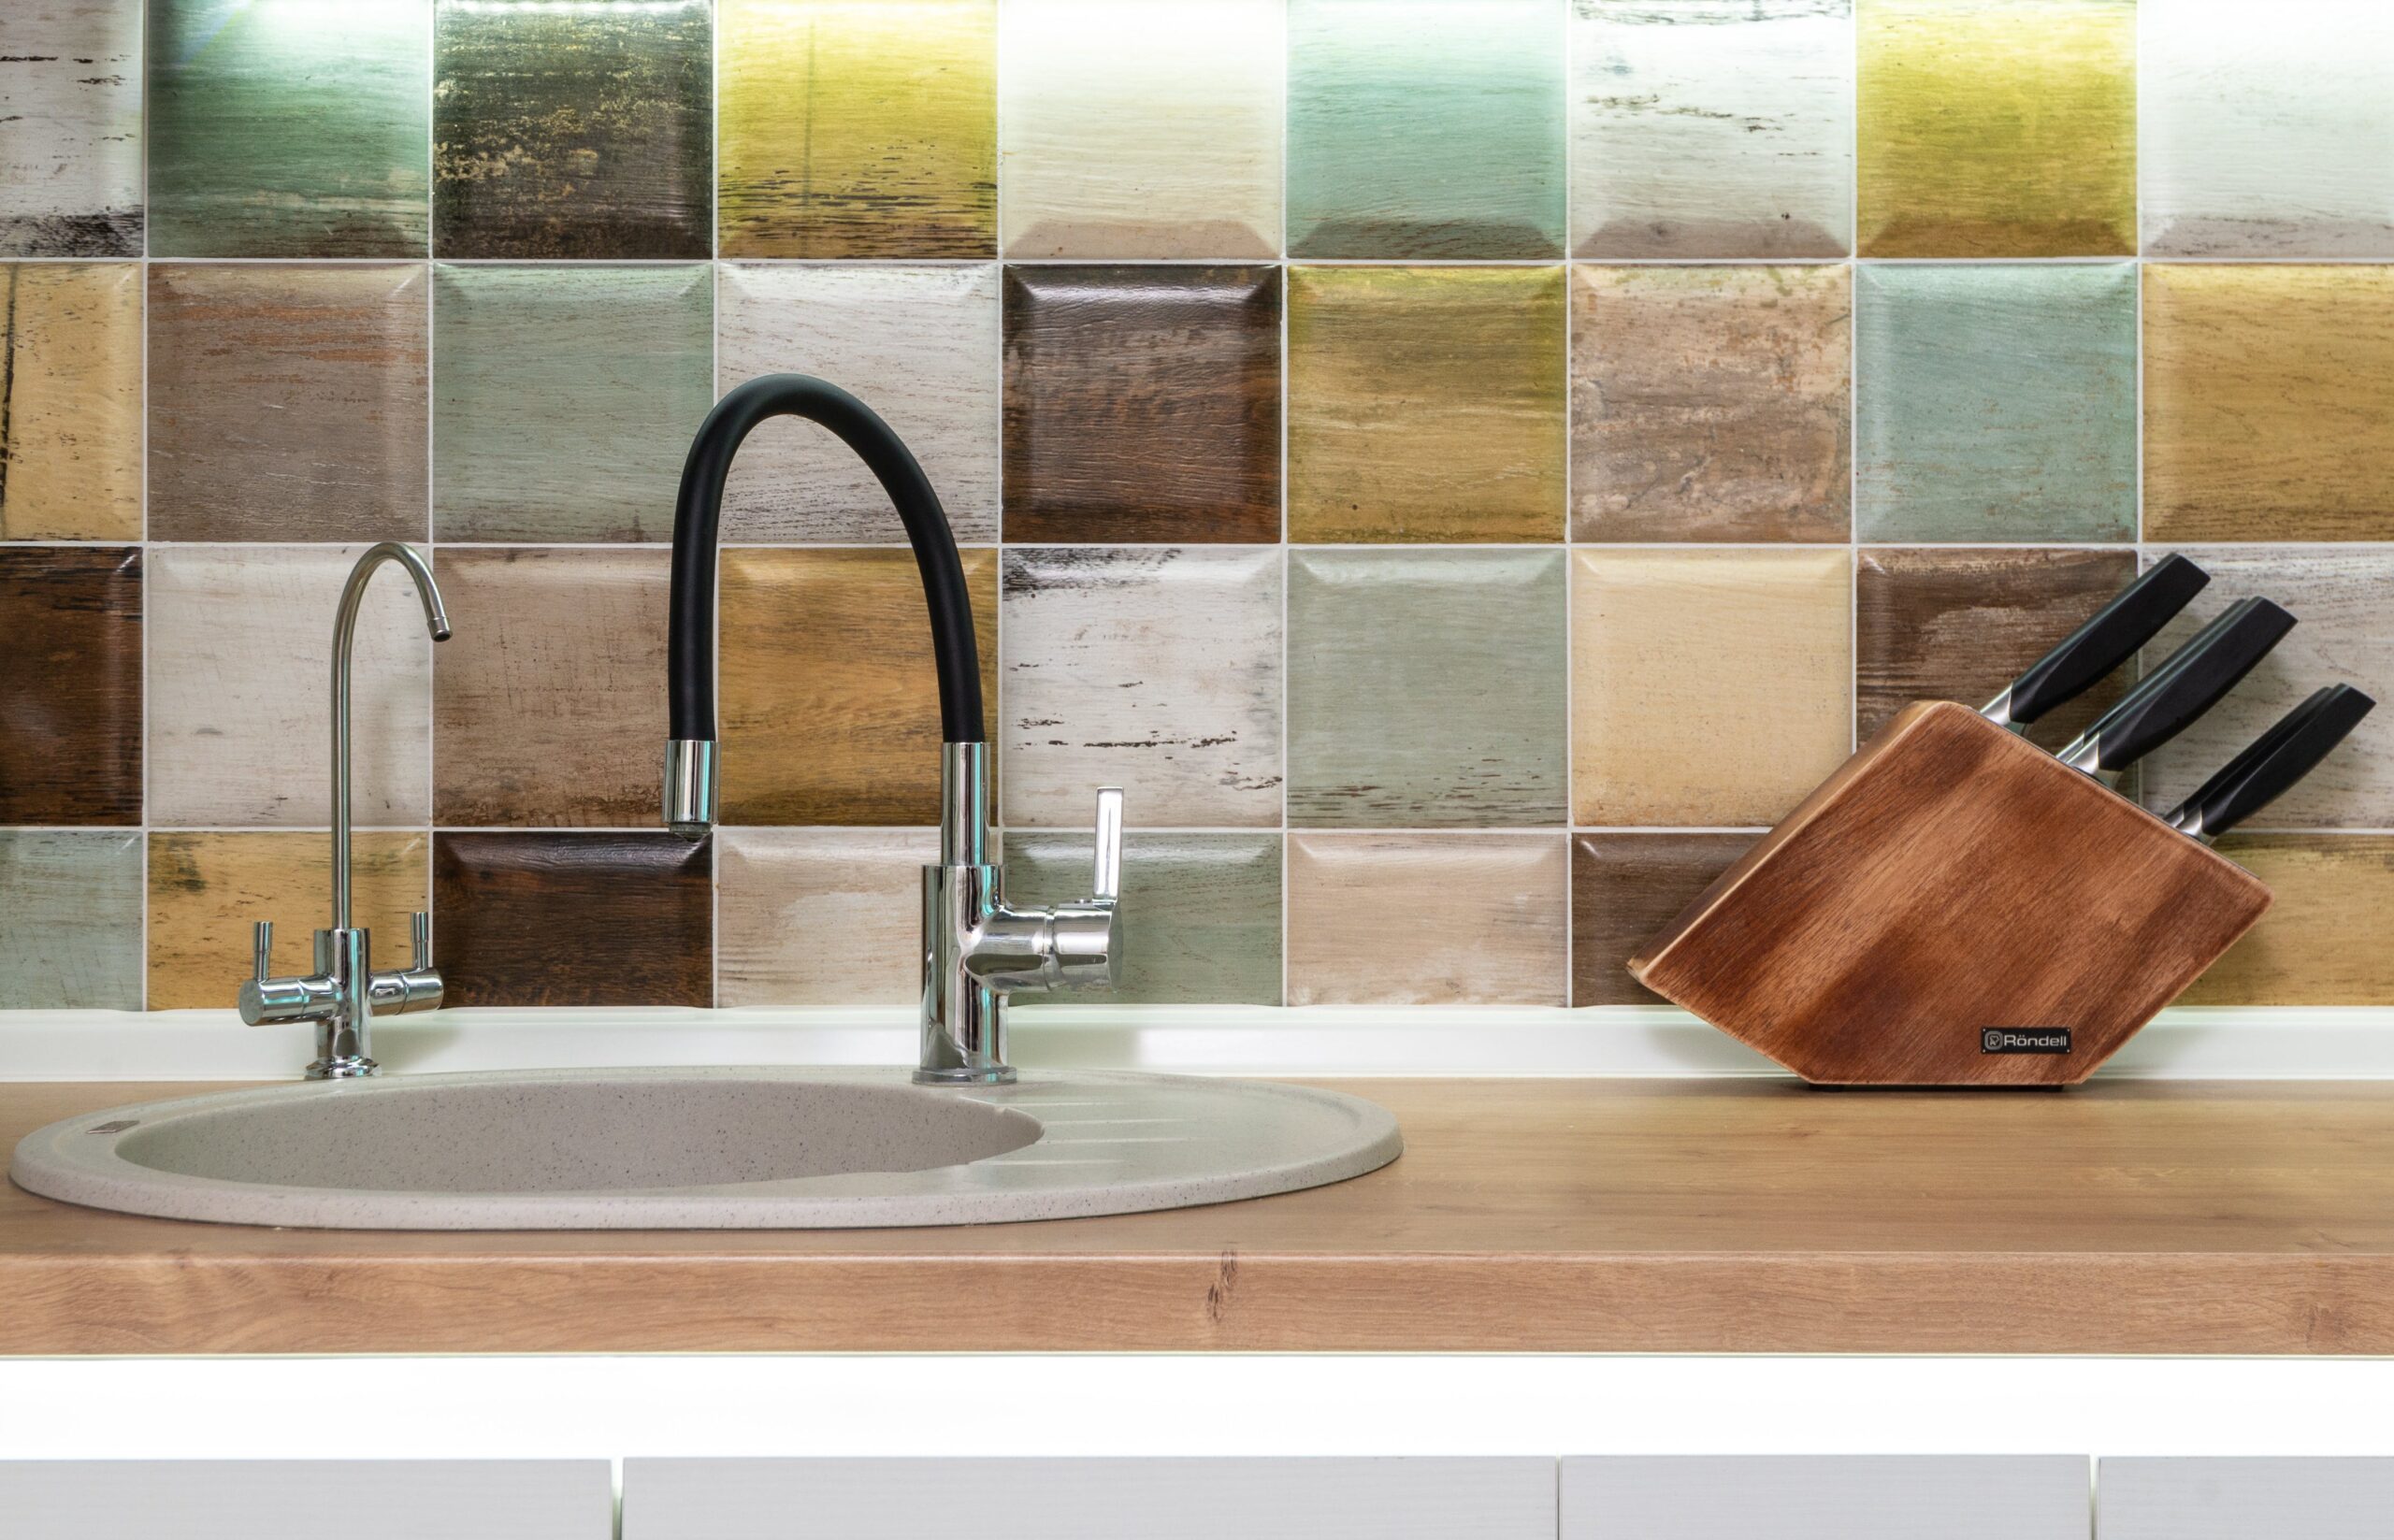
To replace a kitchen sink faucet, first shut off the water supply and remove the old faucet. Then, install the new faucet and reconnect the water lines.
Replacing a kitchen sink faucet can rejuvenate the look of your kitchen while also dealing with leaks and outdated fixtures. The task, generally a straightforward DIY project, involves a few key steps: turning off water supply, detaching the old faucet, and fitting the new one securely in place.
The process can vary slightly depending on the faucet model and sink configuration. Having the right tools on hand—a basin wrench, adjustable wrenches, plumber’s tape, and possibly new supply lines—ensures a smooth installation. This improvement not only enhances the kitchen’s functionality but also contributes to water conservation by preventing unnecessary drips and leaks. Remember to follow manufacturer instructions for specific requirements related to your new faucet model.

Introduction To Kitchen Sink Faucet Replacement
Is it time to spruce up your kitchen with a new faucet? Replacing a kitchen sink faucet can refresh the heart of your home. This simple change can impact both the look and functionality of your kitchen. In this guide, we’ll walk through the process, ensuring you feel prepared and confident to tackle this DIY project.
Understanding The Need For Faucet Replacement
Faucets don’t last forever. Signs like leaks, rust, or a dated design may suggest it’s time for an update. A new faucet can not only fix these issues but also offer improved water efficiency and modern features.
Types Of Kitchen Sink Faucets
Kitchens come in diverse styles and so do faucets. They range from single-handle to double-handle, include features like sprayers and soap dispensers, and come in various finishes. Each type requires a slightly different installation approach.
Tools And Materials Required For The Job
You’ll need a few tools to get the job done right. Here’s what to have on hand:
- Basin wrench
- Adjustable wrench
- Plumber’s tape
- Putty knife
- Bucket or towels (for potential water spillage)
Materials will differ based on your faucet type, but you’ll generally need the new faucet and possibly some plumber’s putty or a new gasket.

Preparation Steps For Faucet Replacement
Replacing a kitchen sink faucet might seem daunting. Yet, proper preparation makes the process smoother. Let’s step through the essential preparation tasks together. Follow these guidelines to ensure your workspace is ready for a new faucet.
Shutting Off The Water Supply
First, turn off the water. Find the valves under the sink and rotate them clockwise. Confirm the water is off by opening the faucet. This prevents any unwanted spills during the replacement.
Clearing The Workspace And Protecting Your Sink
Clear the area under the sink. This gives you room to work. Remove cleaning products and tools. Place a towel or soft cloth in the sink basin to avoid scratches and damage.
Removing The Old Faucet
- Disconnect the water lines using a wrench.
- Loosen the nuts holding the faucet.
- Remove the faucet from the sink.
- Keep the parts in a bag to avoid losing them.
Cleaning The Sink Area Before Installation
Once the old faucet is off, clean the surface. A putty knife helps scrape off old caulking. Wipe down with a cleaner for a fresh start. A clean surface ensures a better seal for the new faucet.
Installing The New Kitchen Sink Faucet
Kitchen upgrades can refresh your space’s look and functionality. A shining new faucet stands out and improves your kitchen’s efficiency. This guide breaks down the essential steps to install a kitchen sink faucet. Whether you’re an adept DIY enthusiast or a beginner, these instructions make the process straightforward.
Familiarizing With The New Faucet’s Components
Each faucet comes with its unique parts. Unbox your new faucet and place all components on a cloth. This prevents scratches and helps you identify each piece. Common components include:
- Faucet body – the main unit
- Handles – for temperature control
- Valves – beneath handles
- Gaskets – ensure a tight seal
- Nuts and washers – for secure installation
- Supply lines – connect to water
Mounting The New Faucet
Start by positioning the gasket or base plate over the sink’s mounting holes. Carefully lower the faucet body through the holes. Underneath the sink, thread the washers and mounting nuts onto the faucet’s tailpieces. Tighten the nuts by hand and then with a wrench, but avoid overtightening.
Connecting Water Supply Lines
Your new faucet will need a connection to your home’s water supply. Take your flexible supply lines and attach them to the faucet’s tailpieces. They should screw on easily by hand. Once aligned, tighten with a wrench. Then, connect the supply lines to the corresponding hot and cold water shut-off valves.
Applying Sealant And Checking For Leaks
Before testing, apply a bead of silicone sealant around the base of the faucet. This prevents water from seeping underneath. Wipe away excess sealant for a clean finish. Turn on the water valves and check connections. Look for drips or moisture that might signal a leak.
Final Adjustments And Testing
After checking for leaks, make any necessary adjustments. These might include tightening nuts or supply line connections. Once everything is secure, test the faucet by running both hot and cold water. Check for smooth operation and ensure the handles are tight and functional. Congratulations on your new kitchen sink faucet!

Post-installation Considerations
Is it time to spruce up your kitchen with a new faucet? Replacing a kitchen sink faucet can refresh the heart of your home. This simple change can impact both the look and functionality of your kitchen. In this guide, we’ll walk through the process, ensuring you feel prepared and confident to tackle this DIY project.
Understanding The Need For Faucet Replacement
Faucets don’t last forever. Signs like leaks, rust, or a dated design may suggest it’s time for an update. A new faucet can not only fix these issues but also offer improved water efficiency and modern features.
Types Of Kitchen Sink Faucets
Kitchens come in diverse styles and so do faucets. They range from single-handle to double-handle, include features like sprayers and soap dispensers, and come in various finishes. Each type requires a slightly different installation approach.
Tools And Materials Required For The Job
You’ll need a few tools to get the job done right. Here’s what to have on hand:
- Basin wrench
- Adjustable wrench
- Plumber’s tape
- Putty knife
- Bucket or towels (for potential water spillage)
Materials will differ based on your faucet type, but you’ll generally need the new faucet and possibly some plumber’s putty or a new gasket.
Conclusion
Replacing your kitchen sink faucet need not be a daunting task. With the right tools and a clear guide, you can achieve a fresh look in no time. Remember: turn off the water, stay organized, and double-check connections. For more home improvement tips, keep following our blog – your DIY companion for hassle-free upgrades!
Frequently Asked Questions For How To Replace A Kitchen Sink Faucet
Can I Replace A Kitchen Faucet Myself?
Yes, you can replace a kitchen faucet yourself by shutting off the water supply, removing the old unit, and installing the new faucet with the proper tools and instructions.
Is Changing A Sink Faucet Hard?
Changing a sink faucet is not overly difficult with the right tools and instructions. It typically involves shutting off water valves, removing the old faucet, and installing the new one.
How Do You Remove An Old Kitchen Sink Faucet?
Turn off the water supply under the sink. Disconnect water lines and remove nuts attaching the faucet. Lift the faucet off the sink. Clean the area for the new faucet installation.
Are Kitchen Sink Faucets Interchangeable?
Most kitchen sink faucets are designed to be universal, but compatibility depends on the number of holes and spacing in your sink. Always check the sink’s layout and faucet specifications before purchasing.


