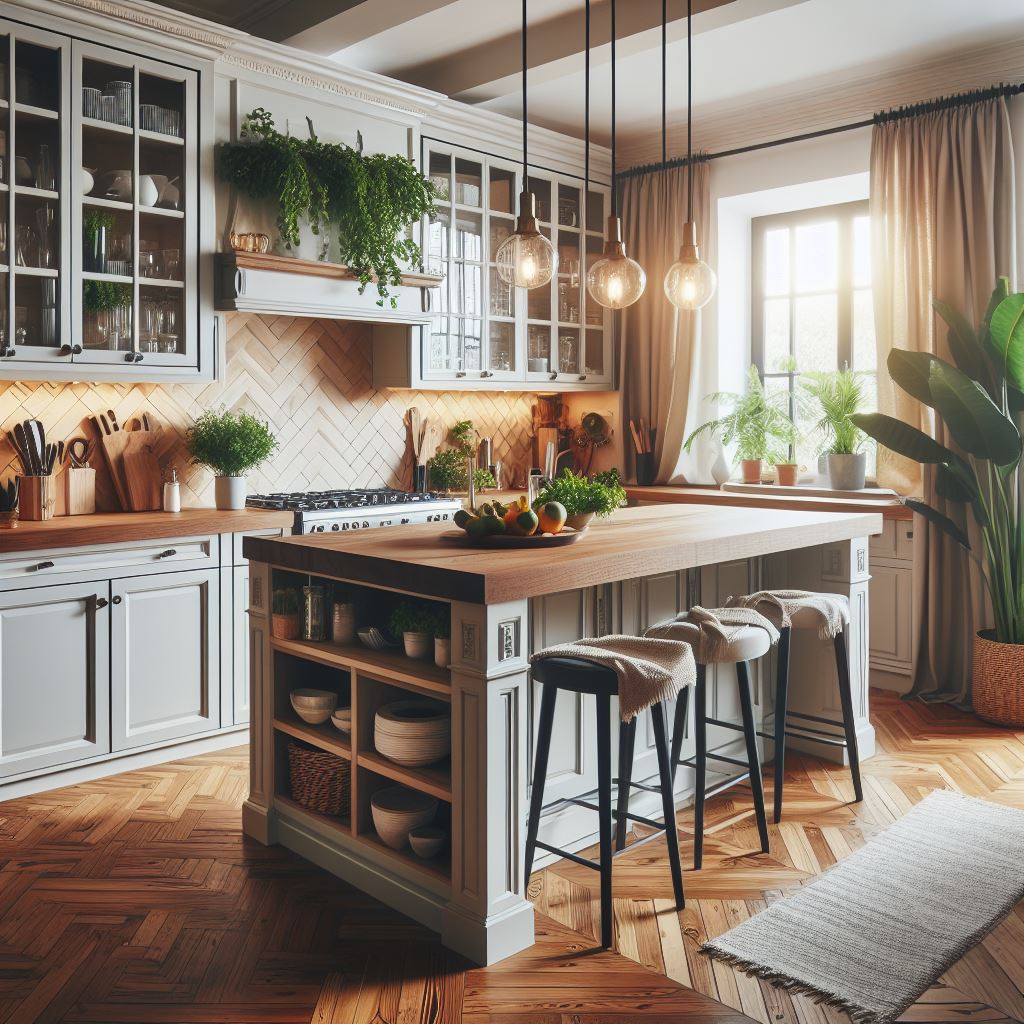
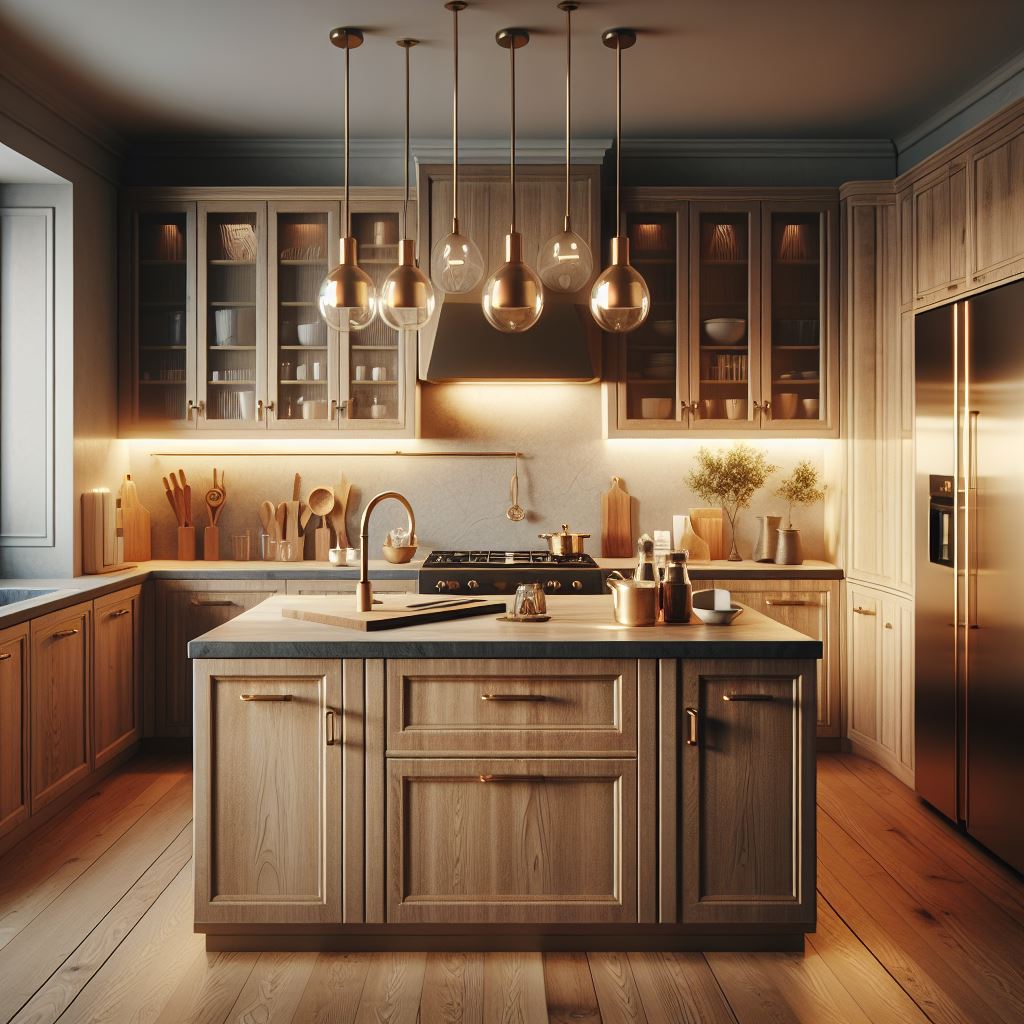
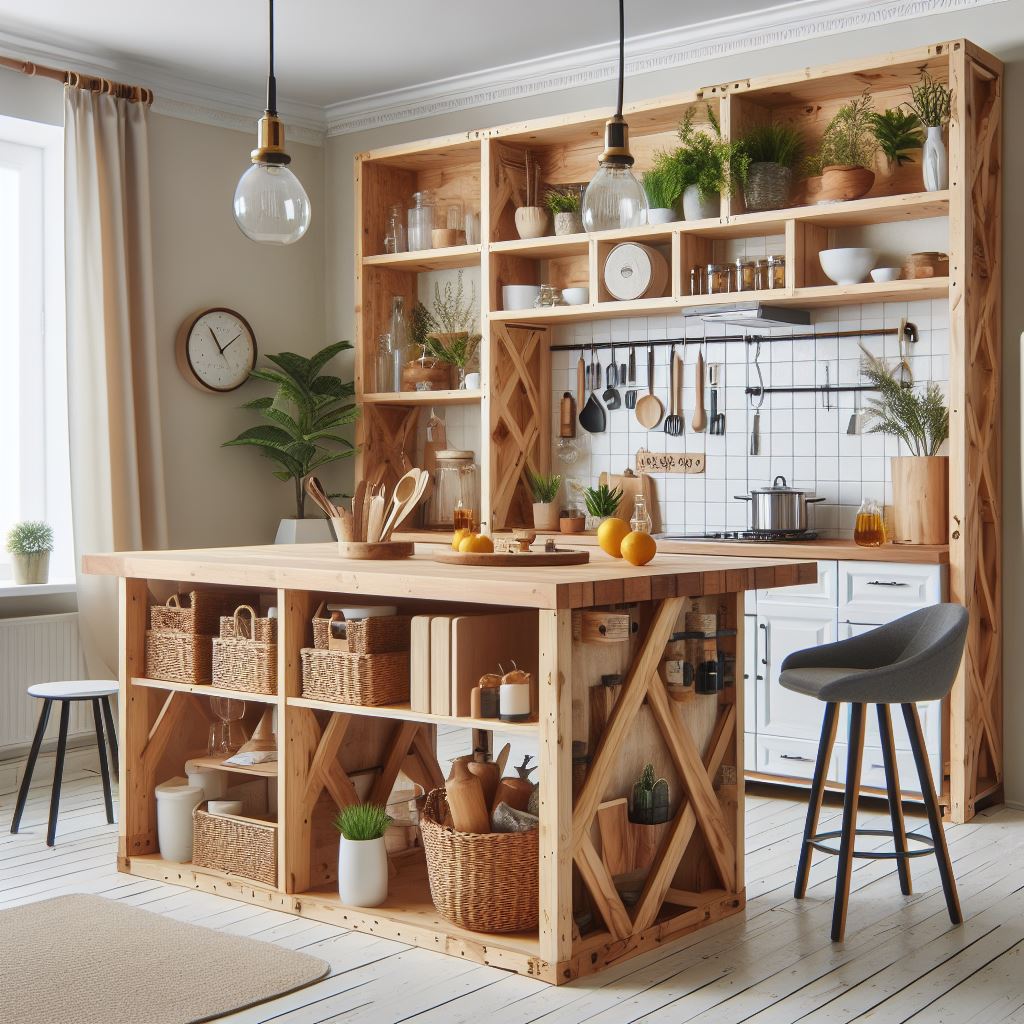
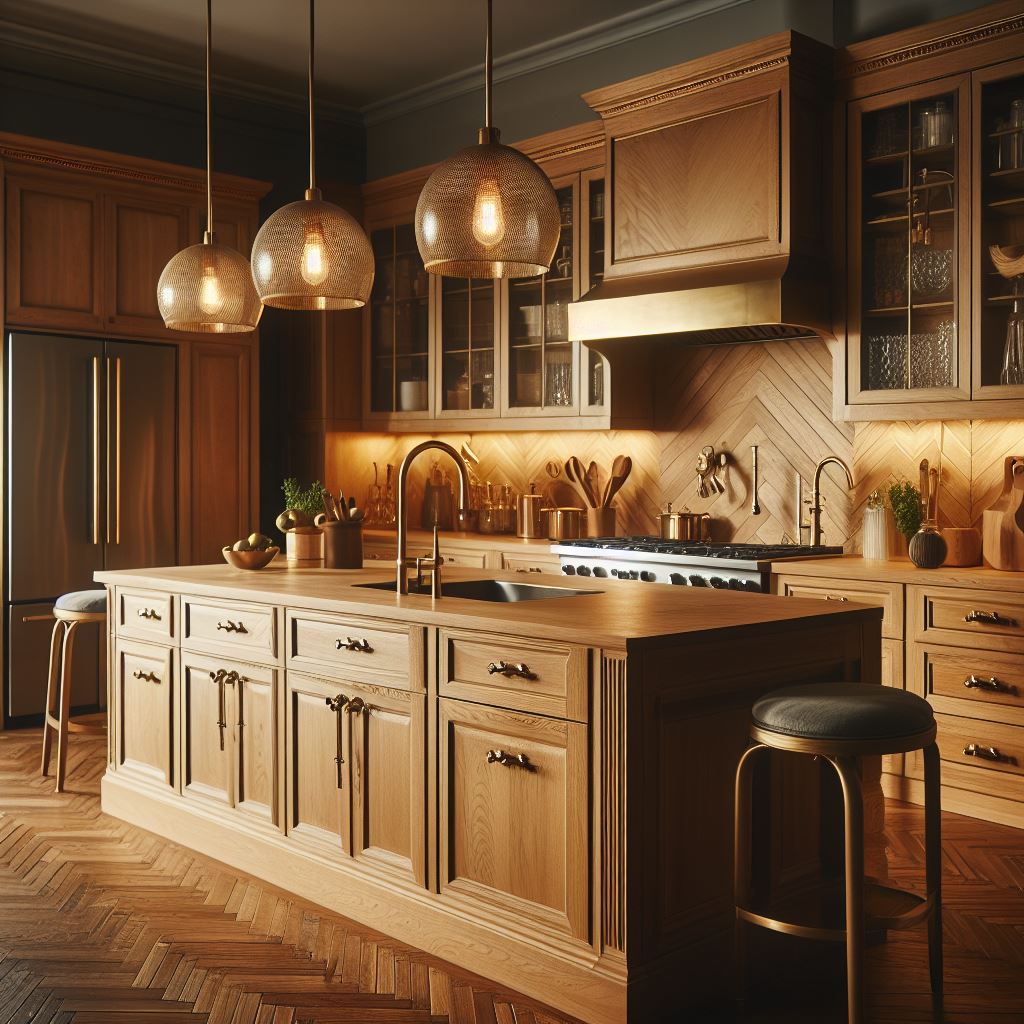
To make a kitchen island from base cabinets, assemble a suitable-sized cabinet layout and secure them together. Attach a countertop after ensuring the cabinets are level and stable.
Creating a kitchen island can be both a practical and appealing way to add extra storage, work surface, and seating to your kitchen. The process involves selecting base cabinets that fit the space and meet your functional needs. These cabinets, once assembled side by side, form a sturdy base for your island.
For homeowners and DIY enthusiasts, this project is a cost-effective solution compared to buying a pre-made island. Setting these cabinets in place also allows for customization, choosing from various countertop materials, finishes, and hardware to match the existing kitchen decor. The right kitchen island not only enhances efficiency but also serves as a focal point, often increasing the overall value of your home.

Introduction To Diy Kitchen Islands
Kitchen islands add value and function to your home. Building one yourself can be a rewarding project. With base cabinets and a bit of know-how, you can create a custom center for your kitchen.
Understanding The Role Of A Kitchen Island
A kitchen island is more than just a statement piece. It’s a multifunctional hub for prepping meals, dining, and storage. The key to a successful DIY island is strong understanding its purposes in your kitchen.
Benefits Of Diy Vs. Professional Installation
- Cost savings: Avoid labor fees
- Customization: Tailor to your needs
- Achievement: Pride in self-made work
Overview Of Required Tools And Materials
Before you start, gather necessary items. This ensures your project runs smoothly.
| Tools | Materials |
|---|---|
| Measuring tape | Base cabinets |
| Screwdriver | Countertop |
| Circular saw | Screws and brackets |
| Drill | Wood glue |
Design And Planning Your Diy Kitchen Island
A kitchen island elevates a home, blending functionality with style. Building your own out of base cabinets can be a rewarding DIY project. Proper design and planning are crucial. This ensures a seamless blend with your existing kitchen layout and decor. Let’s dive into how to turn base cabinets into your dream kitchen island.
Measuring Your Kitchen Space
First, assess the size of your kitchen. A spacious island requires ample room for walkways. Measure twice to plan accurately. Follow these steps:
- Identify the center of your kitchen.
- Ensure a minimum of 42 inches of clearance around the island.
- Account for all kitchen doors and appliances.
Selecting The Right Base Cabinets
Next, select cabinets that complement your kitchen’s decor. Uniformity in design is key. Consider these points:
- Cabinet size: Choose cabinets that fit your measured space.
- Style: They should match or coordinate with your existing kitchen.
- Quality: Durable materials withstand daily use.
Choosing Countertop Materials And Design
The countertop is the highlight of your island. Durability meets design in this choice. Pick from materials like:
| Material | Pros | Cons |
|---|---|---|
| Granite | Heat resistant, durable | Requires sealing |
| Quartz | Low maintenance, variety of colors | Can be pricey |
| Laminate | Affordable, easy to clean | Not as heat resistant |
Consider your kitchen’s aesthetic and how the material complements it. Test samples against cabinetry.
Planning For Electrical Outlets And Appliances
An island often houses appliances or electrical outlets. Planning is essential. Here’s what to keep in mind:
- Decide on appliance placement early in the design process.
- Consult a licensed electrician for outlet installation.
- Ensure all plans comply with local building codes.
Knowing these elements beforehand integrates functionality into your island’s design smoothly.
Constructing The Kitchen Island
Transforming base cabinets into a stylish kitchen island can boost functionality and add charm to your kitchen space. An island provides extra counter space, storage, and can become a focal point in your kitchen. Follow these steps to create a custom island suited perfectly to your needs.

Assembling Base Cabinets And Framework
Start by laying out your base cabinets. They will form the island’s structure. If needed, join multiple cabinets together using strong wood screws. The skeleton of your island is now taking shape. Ensure cabinets are level and flush, optimizing storage space and providing a sturdy base for your countertop.
Securing Cabinets To The Floor
Once assembled, it’s vital to secure the cabinets to the floor. Place your cabinets in the desired location on the kitchen floor. Use L-brackets to anchor them down, keeping the island stationary and safe. Check for stability before moving to the next phase.
Adding A Countertop: Sizing, Cutting, And Fitting
Measure the top surface of your cabinet assembly. These dimensions will guide the sizing of your countertop. If the countertop material needs cutting, use the appropriate tools for a clean, sharp finish. A precise fit is essential for both aesthetics and function. Once cut, position the countertop on top of your base cabinets and secure it firmly with screws from underneath.
Finishing Touches: Molding And Paint
Round off your kitchen island with molding and a fresh coat of paint. Molding enhances the island’s look by covering seams and rough edges. Choose a paint color that complements your existing kitchen design, elevating your island to a beautiful and cohesive element of the room. After the paint dries, your kitchen island is ready to use!
Customization And Storage Solutions
Customization and Storage Solutions transform standard base cabinets into a functional and stylish kitchen island. Transforming base cabinets into a multi-functional centerpiece involves clever design tactics tailored to personal needs and space constraints. With the right approach, each addition becomes a testament to personalized convenience, turning a simple cabinet assembly into a unique kitchen feature. Let’s explore how to make the most out of your base cabinets with custom drawers, shelving options, and stylish accessories for an organized and efficient kitchen.
Incorporating Custom Drawers And Shelving
- Measure Twice: Begin by sizing up the cabinet space for drawer and shelf installation.
- Drawer Dividers: Use dividers to organize utensils neatly.
- Slide-Out Shelves: Insert slide-out shelves to access deep storage easily.
- Adjustable Shelving: Opt for adjustable shelves to accommodate various items.
Creative Storage Ideas For Small Kitchens
| Feature | Benefit |
|---|---|
| Vertical Storage: | Maximizes upward space for stacking items. |
| Hidden Compartments: | Cleverly conceals clutter for a tidy look. |
| Pull-Out Bins: | Provides easy-to-reach spots for recycling or pantry goods. |
| Hanging Racks: | Utilizes the side of the island for pots and utensils. |
Accessorizing Your Island With Hardware And Fixtures
- Choose Quality Hardware: Select knobs and handles that match the kitchen’s overall style.
- Install a Sink or Cooktop: Enhance functionality by incorporating appliances into the island.
- Accent with Lighting: Add pendant lights or LED strips for ambiance and visibility.
- Add Power Outlets: Ensure convenient access to electricity for appliances and devices.
Maintenance And Upkeep
A kitchen island built from base cabinets is a striking centerpiece that requires regular upkeep. Proper maintenance ensures long-lasting beauty and function. Explore easy ways to care for your island and keep it looking great.
Regular Cleaning And Care Tips
Keeping your kitchen island in top shape is simpler than you might think. Start with these straightforward cleaning tips:
- Wipe daily: Use a soft cloth with warm water and gentle soap.
- Spill response: Clean spills immediately to prevent staining.
- Avoid harsh chemicals: They can damage cabinet finishes.
- Use coasters and trivets: They protect surfaces from heat and moisture.
Dealing With Wear And Tear
Even with careful use, your kitchen island will show signs of wear over time. Try these tips to handle common issues:
| Issue | Solution |
|---|---|
| Scratches or dents | Use a wood marker or filler, then seal with finish. |
| Loose knobs or pulls | Tighten with a screwdriver regularly. |
| Sticky drawers | Apply a silicone-based lubricant on the tracks. |
Upgrading Your Island Over Time
Your kitchen island can evolve with your style and needs. Consider these upgrade ideas:
- Change hardware: New knobs or pulls can transform the look.
- Add organizers: Keep drawers tidy with dividers.
- Update the countertop: Choose durable materials like granite or quartz.
- Install new fixtures: A fresh faucet adds function and flair.

Conclusion
Transforming base cabinets into a charming kitchen island is within your reach. Embrace your DIY spirit and create a hub for culinary creativity and social gatherings. Craft a unique centerpiece that enhances both functionality and style. Start your project today, and watch your kitchen evolve into the heart of your home.
Frequently Asked Questions For How To Make A Kitchen Island Out Of Base Cabinets
Can I Make An Island Out Of Base Cabinets?
Yes, you can create an island using base cabinets by securing them together and attaching a countertop. Ensure stability and consider adding electrical outlets or extra storage features for enhanced functionality.
Is It Cheaper To Buy Or Build A Kitchen Island?
Building a kitchen island can often be more cost-effective than buying one, especially if you choose basic materials and do the work yourself.
How To Build A Freestanding Kitchen Island?
Measure your space and choose a design for your freestanding kitchen island. Purchase materials such as cabinets, countertops, and hardware. Assemble cabinets according to instructions. Secure countertop to cabinets. Add finishing touches like paint or stain for a personalized look.
What Cabinets Do I Need To Make An Island?
To build an island, select base cabinets that match your kitchen’s layout and storage needs. Opt for a combination of drawer and door styles for versatility. Ensure the cabinets fit your space and support your countertop choice.


