To carve a standing rib roast, first remove the bones then slice the meat across the grain. Serve portions that include both the crispy exterior and the tender interior.
Carving a standing rib roast may seem daunting, but with the right technique, it’s quite manageable. The dish itself, a centerpiece at many gatherings, requires attention to detail to ensure each slice is as succulent as the next. Amateurs and seasoned chefs alike aim for that perfect cut to showcase the roast’s delectable textures.
A successfully carved rib roast not only enhances the dining experience but also pays tribute to the quality of the meat. Knowing the carving process is essential—cooks must separate the bones cleanly and slice uniformly for optimal flavor and presentation. This simple guide provides you with confidence and skill to master this culinary task, making your next celebration a triumph on the table.
Introduction To Carving A Standing Rib Roast
Introduction to Carving a Standing Rib Roast begins at your dining room table, surrounded by eager guests anticipating the juicy, succulent cut of beef before them. The standing rib roast, a centerpiece at many gatherings, is not just a meal; it’s an experience. Ensuring each slice is as flavorful and tender as the next is paramount. This demands skill in the art of carving. With the right techniques and tools, you can elevate this culinary endeavor into a performance worth remembering.
Overview Of The Standing Rib Roast
At the heart of an impressive meal is the standing rib roast, often known as prime rib. This premium cut of beef comes from the rib section and is esteemed for its rich marbling and robust flavor. Typically roasted with the bone in, standing rib roast is served in thick slices that include both the exquisite rib meat and the delectable ribeye. Understanding its structure is crucial to mastering the carving process and ensuring each slice is perfectly presented.
Importance Of Proper Carving Techniques
Carving is not merely slicing; it’s an art that impacts taste and texture. Proper carving techniques are essential in preserving the integrity of the meat, preventing it from becoming tough or losing its savored juices. An impeccably carved rib roast guarantees that guests are not only impressed by the presentation but also enjoy the best possible dining experience.
Tools Required For Carving
- Carving Board: A sturdy board with wells for collecting juices is indispensable.
- Carving Knife: A long, sharp knife ensures clean and even cuts.
- Meat Fork: Used to steady the roast, this tool is as significant as the knife.
- Sharpening Steel: Maintaining the edge of your knife guarantees that slicing through the roast is effortless.
Preparing The Standing Rib Roast For Carving
Welcome to the most succulent part of your culinary journey: Preparing the Standing Rib Roast for Carving. This majestic cut of meat deserves the utmost respect, and with a few expert tips, you’ll be carving like a pro in no time. Remember, the way you present your rib roast can transform a simple meal into a memorable feast.
Allowing The Meat To Rest Post-cooking
Before even thinking of slicing into your beautifully roasted rib, it’s essential to let it rest. This pause serves a critical purpose – it allows the juices to redistribute, ensuring each slice is as flavorful and tender as possible.
- Cover the roast loosely with foil after it exits the oven.
- Let it rest for at least 20 minutes, for optimal juiciness.
- Use this time to prep your carving station and sides, making the process efficient and enjoyable.
Setting Up The Carving Station
A well-equipped carving station sets the stage for effortless slicing. Ensure you have a large cutting board with a channel to catch juices. Choose a sharp, long-bladed carving knife and a meat fork to hold the roast in place. Keep these tools close at hand for a streamlined experience.
Assessing The Doneness And Grain Of The Roast
Take a moment to assess the roast. Note the doneness, looking for that perfect pink hue, indicating a roast cooked to perfection. Identify the grain of the meat; this is the direction in which the muscle fibers run. Slicing against the grain is crucial – it shortens the fibers, making the meat more tender and enjoyable.
- Inspect the roast for color consistency, for your preferred level of doneness.
- Locate the direction of the muscle fibers in the roast.
- Position the roast on the carving board to facilitate cross-grain slicing.

Step-by-step Guide To Carving The Rib Roast
Welcome to your quintessential Step-by-Step Guide to Carving the Rib Roast. Standing rib roast, an impressive main course for any feast, can present a challenge to even the most skilled home chefs when it comes to carving. Fear not! This guide will lead you through the process, ensuring you present perfectly carved slices of this delectable cut to your eager guests.
Removing The Rib Bones
Starting with the removal of the rib bones is crucial in simplifying the carving process. After resting your rib roast, place it cutting board. Position the meat bone-side up, as this will give you better leverage when separating the bones.
- Identify the location where the meat connects with the bones.
- Use a sharp carving knife to slice through the connecting tissue, following the contour of the bones.
- Gently pull back the separated bones as you continue slicing to fully remove them.
Slicing The Rib Roast
With the bones removed, focus turns to slicing the rib roast. For the best presentation, aim for even, consistent slices.
- Position the rib roast so the cut side is down on the cutting board.
- Steady the roast with a meat fork, ensuring it remains stable.
- Using your carving knife, slice through the meat horizontally, starting from one side and working your way to the other.
- Decide on the thickness of your slices depending on preference, usually about half an inch to an inch.
Serving The Carved Meat
Presenting the carved meat is the final flourish of your culinary endeavor. Arrange the slices on a warm platter, fanned out for maximum visual impact. Remember to season with finishing salt or drizzle with juices from the roasting pan for an extra punch of flavor.
Expert Tips For Smooth And Even Slices
- Keep your carving knife sharpened and honed for cleaner cuts.
- Let the rib roast rest before carving to ensure juices redistribute for moister meat.
- Slice against the grain of the meat; this makes each bite more tender.
- Consider a carving board with grooves to capture any escaping juices and keep your work area tidy.
- If the outer crust is difficult to cut through, separate it first and then slice the meat.
Common Mistakes And How To Avoid Them
Welcome to the essential guide on carving a standing rib roast, where perfection meets the plate. Carving this succulent piece of meat can be an art form, but even the most experienced chefs can make mistakes. Recognizing and steering clear of these errors ensures that every slice is as tender and flavorful as possible. Below, we delve into common pitfalls and provide tips so you’ll carve like a professional.
Carving Without Letting The Roast Rest
One of the biggest mistakes in the process is impatience: carving your roast too soon. After removing your succulent roast from the oven, its internal juices are bubbling and redistributed unevenly. Cutting into the meat immediately would cause these savory juices to spill out, resulting in dryer, less flavorful slices.
To avoid this, allow the meat to rest for at least 20 minutes. It will enable the juices to settle and redistribute, ensuring each slice is moist and delicious.
Incorrect Knife Usage And Handling
The secret to effortless, clean cuts lies in the knife you choose and how you wield it. Using a dull or inappropriate knife not only hampers the cutting experience but also mars the meat’s texture. Utilize a sharp carving knife or a chef’s knife for precise cuts. A dull blade requires more force, which could lead to uneven slices or even accidents.
Maintain a firm yet gentle grip on the knife and utilize long, smooth strokes when cutting. Sawing the meat with short, back-and-forth motions can shred the fibers and ruin the look of your roast. Keept your cuts clean and deliberate to present the most appetizing platter.
Cutting With The Grain Instead Of Against It
Understanding the grain of the meat is crucial for achieving the ultimate tenderness. Cutting with the grain aligns the slices with muscle fibers, making the meat chewier and less enjoyable. Conversely, slicing against the grain shortens the muscle fibers, making the meat more tender and easier to eat.
Identify the direction of the muscle fibers and position your knife at a perpendicular angle. Take care to slice across the grain to enhance the natural tenderness of your rib roast. Each slice will then come apart effortlessly, pleasing both the palate and the eye.
Additional Considerations And Serving Suggestions
Mastering the art of carving a standing rib roast is just the beginning; to truly elevate your meal to a memorable dining experience, it’s essential to consider the additional elements that complement the centerpiece of your table. From the perfect presentation to the harmony of side dishes and the smart use of leftovers, these considerations turn a simple meal into a feast for the senses.
Presentation Tips For A Beautiful Platter
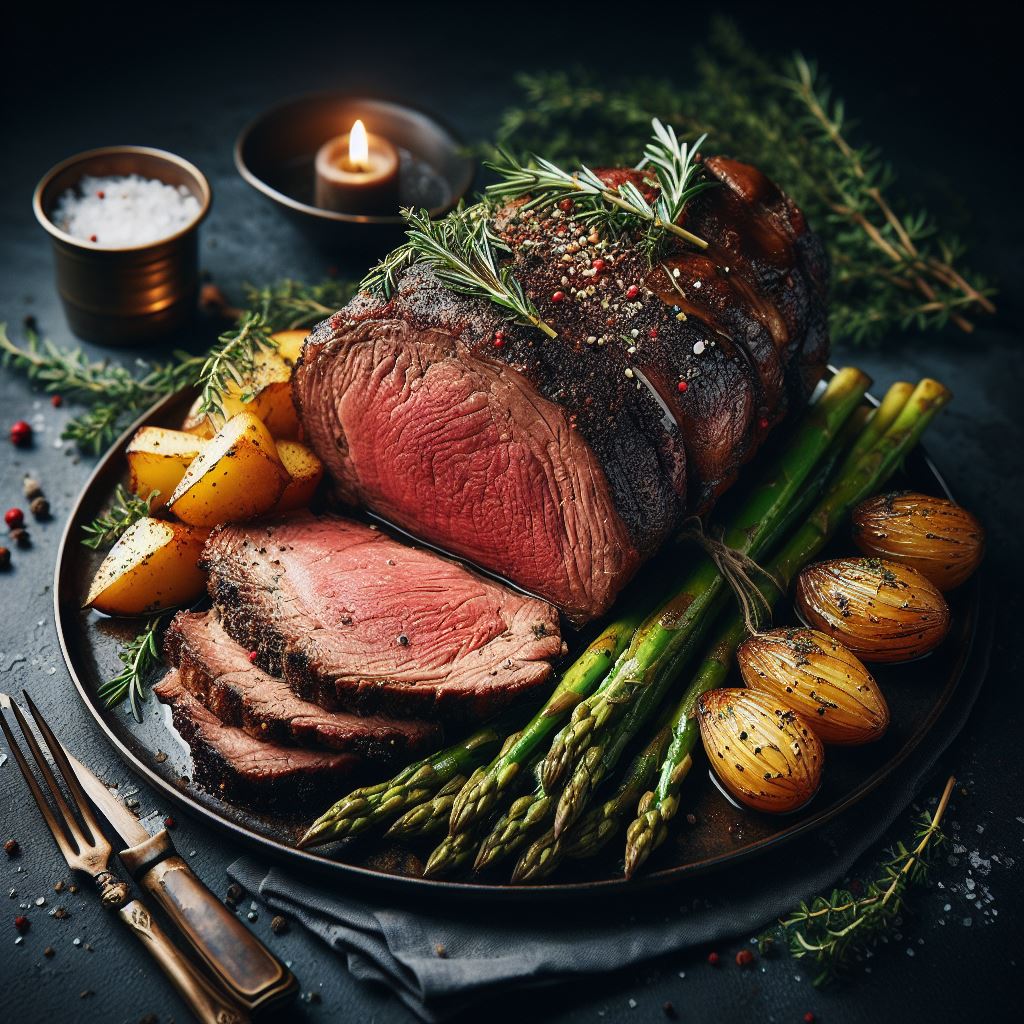
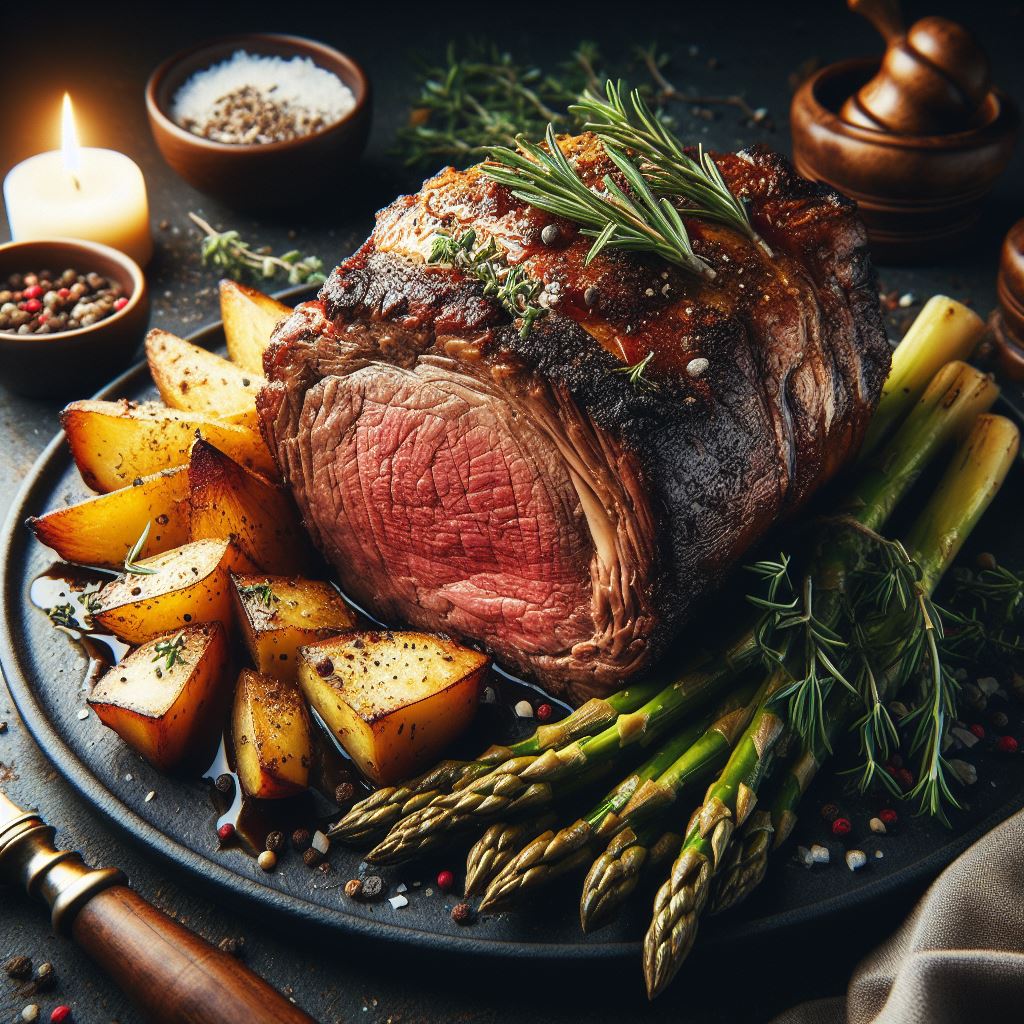
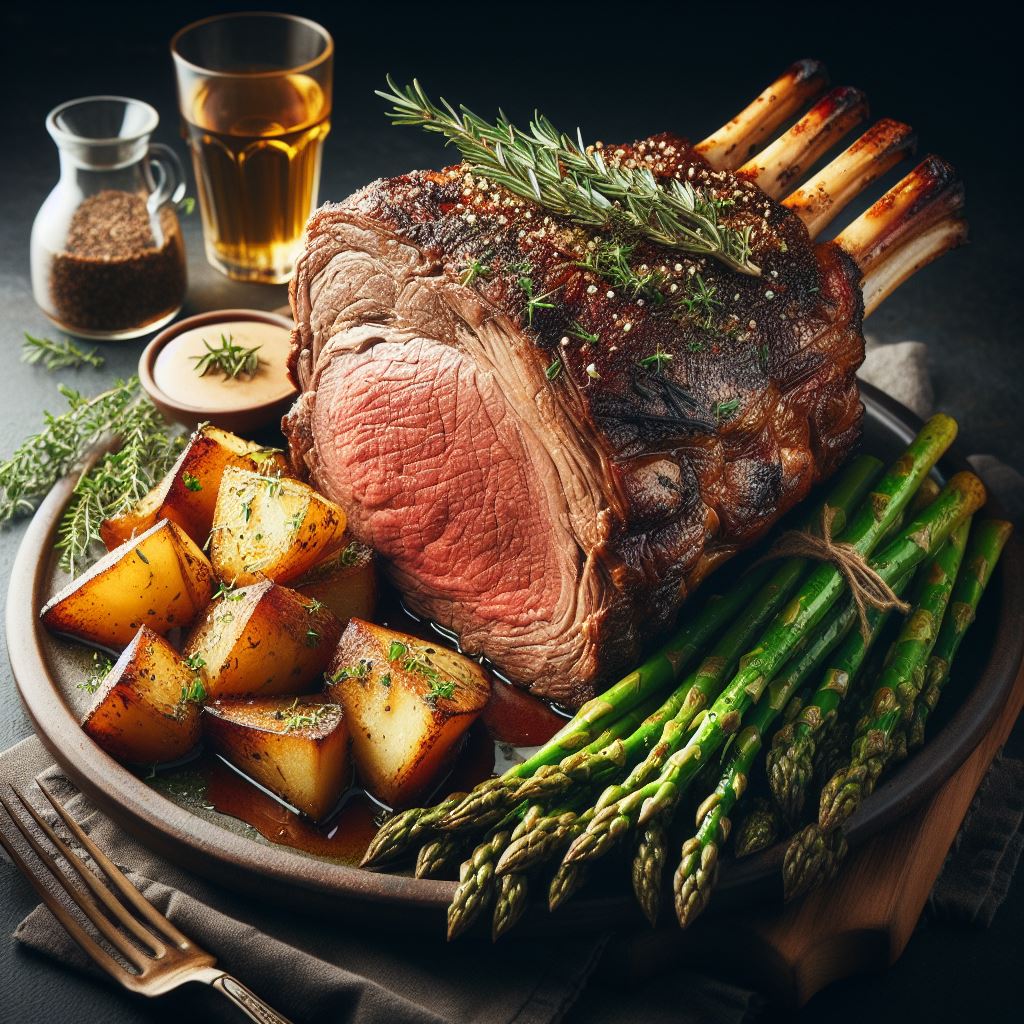
A beautifully presented standing rib roast commands attention. Start with a large platter that provides enough room for the roast and garnishes. Place the carved meat neatly on one side, and intersperse with fresh herbs like rosemary or thyme for a pop of color and aroma. If you’re including bones, arrange them alongside the slices for a rustic, inviting look. For a touch of elegance, consider adding some edible flowers or a light sprinkle of coarse salt over the meat.
Complimentary Sauces And Side Dishes
- Rich sauces can enhance the deep flavors of the rib roast. Classic horseradish cream offers a spicy contrast, while a red wine reduction adds a touch of sophistication. A gourmet mustard or béarnaise sauce can also complement the succulent meat.
- On the side, aim for a balance of textures and tastes. Creamy garlic mashed potatoes, roasted root vegetables, and a crisp green salad create a well-rounded plate. Don’t forget a basket of warm, crusty bread to round off the meal.
Storing And Utilizing Leftover Rib Roast
- To maintain freshness, store remaining rib roast slices in a tightly sealed container. They will keep well in the refrigerator for up to three days.
- Transform leftovers into new culinary creations. Thinly slice or shred the meat for mouthwatering sandwiches, beef stroganoff, or a hearty beef barley soup. The bones can be reserved for a rich, flavorful beef stock.
By giving consideration to these elements, your standing rib roast will not only stand out on the dinner table but also provide the foundation for future meals, making the most out of this exquisite cut.

Frequently Asked Questions For How To Carve A Standing Rib Roast
What Tools Are Needed For Carving Rib Roast?
To carve a standing rib roast, you need a sharp carving knife, a cutting board, and meat forks or tongs. These tools ensure precise cuts and safety.
How Do I Prepare Rib Roast Before Carving?
Before carving, let the rib roast rest for at least 20 minutes. This allows juices to redistribute, ensuring moist, flavorful meat when sliced. Resting avoids juice loss and mess.
What’s The Best Technique For Slicing Rib Roast?
Slice rib roast by cutting along the rib bones first to remove them. Then, slice the meat across the grain to desired thickness. Slicing against the grain ensures tenderness.
Should The Rib Roast Be Hot Or Cold When Carved?
Carve the rib roast while it’s still warm, ideally after resting post-roasting. Warm meat is easier to slice than cold and retains more moisture for a better taste.
Conclusion
Mastering the art of carving a standing rib roast is truly an impressive skill. With these straightforward steps, you’ll shine at your next feast. Remember, sharp knives and confidence are your best tools. Embrace the process, and your guests will rave about the perfect slices.
Happy carving, and enjoy the accolades!


